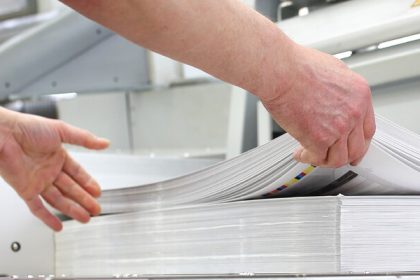
As a graphic designer, preparing digital files for a print shop requires attention to detail to ensure accurate and high-quality printing. Here are some essential steps to follow:
1. Understand the print shop’s requirements: Each print shop may have specific guidelines and specifications for file formats, color profiles, resolution, bleed, and trim. Familiarize yourself with their guidelines before starting the design process.
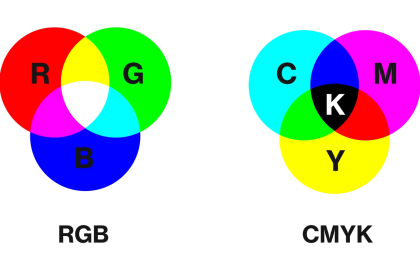
2. Use the correct color mode: For print, use the CMYK color mode to ensure accurate color reproduction. Convert your design from RGB to CMYK to avoid any unexpected color shifts.
3. Set the appropriate resolution: Set your document’s resolution to 300 dots per inch (DPI) to ensure sharp and clear printing. This resolution is ideal for most print materials. Avoid using low-resolution images, as they may appear pixelated or blurry in print.
4. Include bleed and trim marks: Bleed is the area outside the document’s edge that extends beyond the final trim size. Extend any background or design elements that touch the edge of the page by approximately 0.125 inches (or as specified by the print shop) to prevent white borders after trimming. Additionally, include trim marks to indicate where the document should be cut.
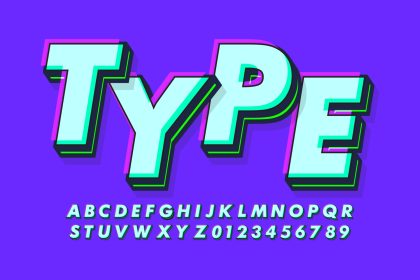
5. Embed or outline fonts: To ensure that your fonts appear correctly, either embed them within the document or outline them. Embedding fonts allows the print shop to access the specific fonts you used, while outlining converts the text into vector shapes, ensuring consistency.
6. Check image formats: Save images in a suitable format such as TIFF or high-quality JPEG. Avoid using low-quality image formats like GIF or PNG as they may result in loss of detail or color accuracy. Ensure that all linked images are embedded or included in the final file.
7. Proofread and double-check: Before sending the files to the print shop, thoroughly review your design for any errors, spelling mistakes, or inconsistencies. Pay attention to important details like contact information, dates, and addresses.
8. Package the files: Use design software’s packaging or collect function to gather all the necessary files for printing, including fonts, linked images, and the final document. This helps ensure that the print shop receives all the required elements.
9. Provide clear instructions: Accompany your files with a clear and concise print-ready instructions document. Include information on paper stock, finishes, binding options, and any special instructions or considerations.
10. Test print: If possible, print a test copy on your own printer or request a proof from the print shop before finalizing the order. This allows you to check for any potential issues and make adjustments if needed.
Remember, it’s always a good practice to communicate and collaborate with the print shop throughout the process. They can provide valuable guidance and address any specific requirements or concerns they may have.