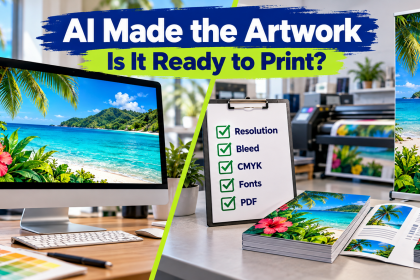
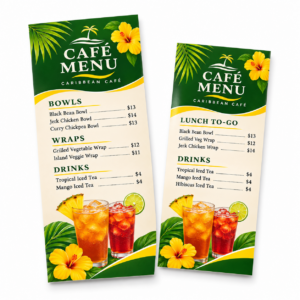
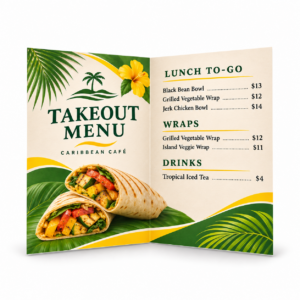
A print-ready file is more than a design that looks finished on screen. It is artwork built to the correct size, with enough image detail, safe margins, bleed, dependable fonts and a PDF setup matched to the production process.
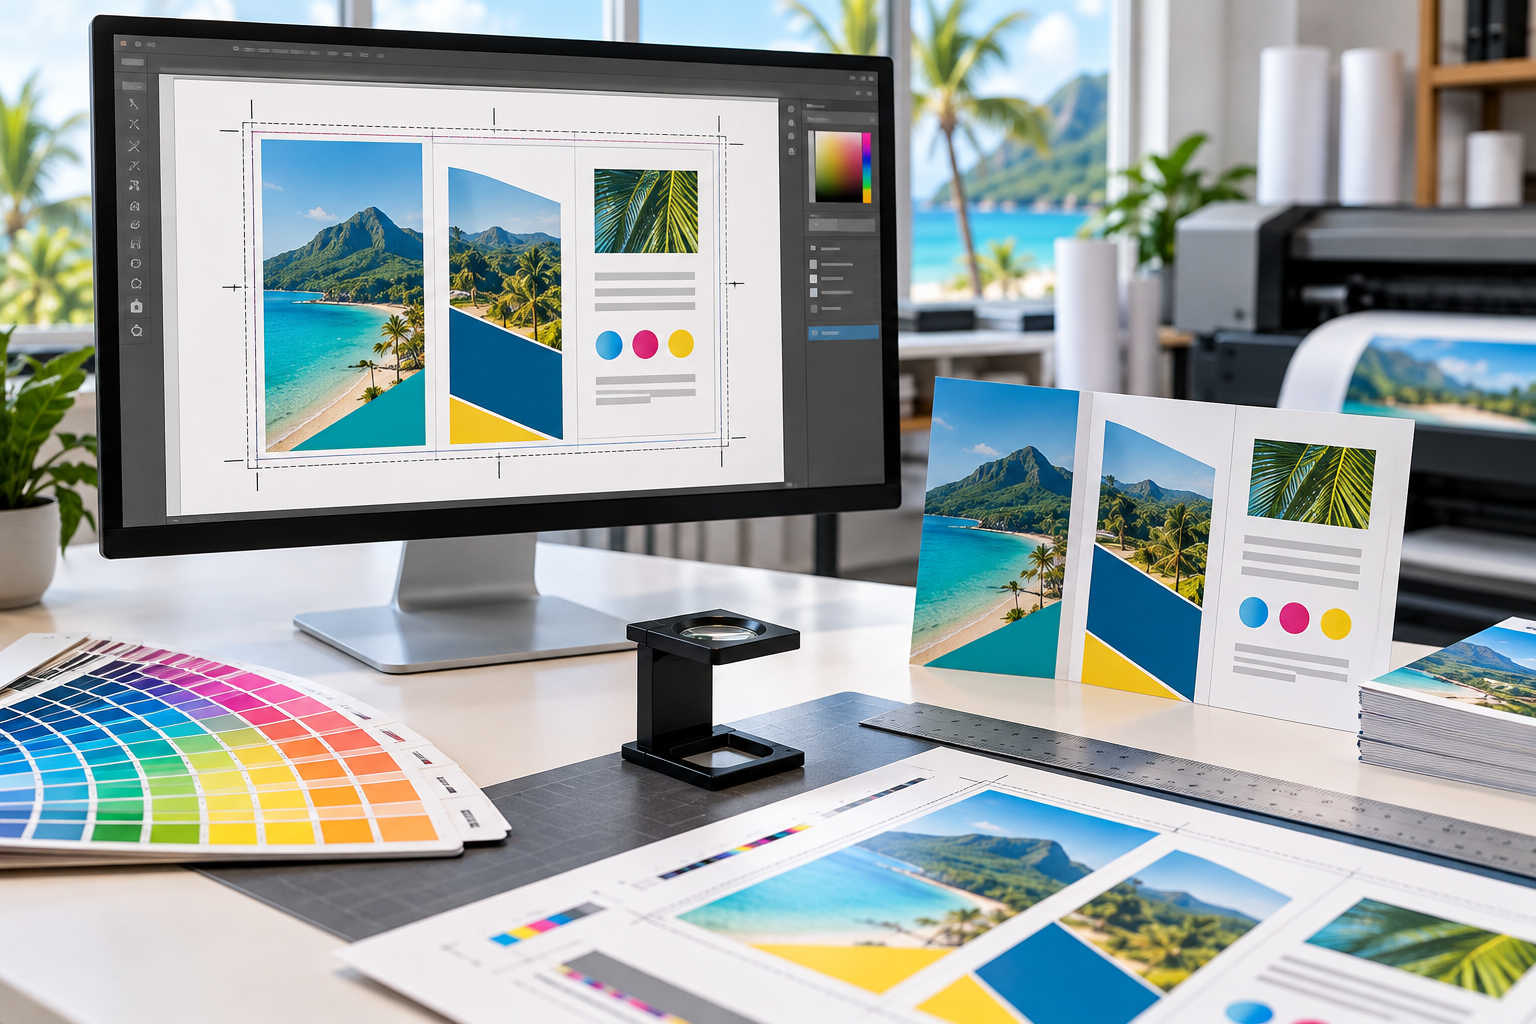
Good file preparation reduces delays, prevents avoidable surprises and helps the finished piece match your expectations. Use this practical checklist before sending business cards, brochures, postcards, signs or other artwork to CPM.
1. Start with the printer’s specifications
Before designing, confirm the finished size, required bleed, preferred PDF preset, color expectations and any special finishing. A folded brochure, booklet, banner and business card do not share one universal setup. If CPM has supplied a template, use it rather than rebuilding the dimensions by eye.
2. Build at the correct finished size
Create the document at its final trim size unless the printer specifies a different scale. Large-format artwork may sometimes be prepared proportionally, but the scale must be clearly identified and the effective image resolution must still be suitable at final size.
3. Add bleed and protect the safe area
Bleed extends backgrounds and images beyond the trim edge so normal cutting variation does not leave a white sliver. A common requirement for many small-format products is 0.125 inch on each side, but always follow the specification for the product.
- Extend every background, photo or color block that reaches the edge fully into the bleed.
- Keep text, logos, QR codes and other critical details inside the safe area.
- Do not add a decorative border close to the trim unless the design can tolerate slight variation.
- Include crop marks only when requested; marks should sit outside the bleed, not on top of the artwork.
4. Check image resolution at final size
Resolution depends on the product, viewing distance and production method. Around 300 pixels per inch at final size is common for close-viewed commercial print, but it is not a universal rule. Large signs and banners are often produced successfully at a lower effective resolution because they are viewed from farther away.
Enlarging a small web image does not create real detail. Check the effective resolution after scaling and avoid screenshots or images copied from a website when a high-resolution original is available.
5. Manage color deliberately
Follow the requested color workflow and preserve embedded profiles. Some production systems accept properly tagged RGB images and convert them using the correct output profile; others require a CMYK or PDF/X file. Converting everything blindly to a generic CMYK profile can discard useful color information. Our RGB vs. CMYK guide explains why screen color and printed color can differ.
- Use spot-color references or an approved physical sample when brand color is critical.
- Use 100% K for small black text unless CPM specifies otherwise.
- Ask before applying a rich-black formula to large areas; the correct build depends on the process and substrate.
- Do not judge final print color from an uncalibrated monitor or office printer.
6. Handle fonts and transparency safely
Embed fonts when exporting the PDF. If a font cannot be embedded, outline only the final copy after saving an editable version. Outlined text can no longer be searched, edited or checked as text, so it should not replace a properly packaged source file. For more detail, see Choosing Fonts for Print.
Modern PDF workflows usually preserve live transparency, but effects, overprints and blending modes still deserve a careful output preview. If the file contains unusual effects, tell the printer rather than assuming the export has reproduced them correctly.
7. Export a dependable PDF
A high-quality PDF is usually the safest production file because it can preserve vector artwork, fonts, color information and page geometry. Use the PDF or PDF/X preset requested by CPM. Avoid “smallest file size” settings intended for email or screen viewing, which may downsample images too aggressively.
- Include the required bleed.
- Use single pages rather than reader spreads unless specifically requested.
- Confirm that page count, orientation and finished size are correct.
- Open the exported PDF and inspect it at high magnification before sending.
8. Proof the content, not just the design
A technically perfect file can still print the wrong information. Check spelling, dates, prices, phone numbers, email addresses, URLs, QR codes and page order. Ask another person to proof important material; familiarity makes it easy to read what you expect instead of what is actually there.
9. Send useful production information
Include the product, finished size, quantity, stock, finishing, deadline and any color-critical instructions. Name files clearly and identify the final version. If CPM requests editable artwork, package the document with its linked images and fonts, subject to font licensing.
10. Review the proof carefully
A proof is the final opportunity to confirm content, layout and production interpretation. A PDF proof is useful for text and position, but it cannot guarantee exact color or substrate appearance on every screen. For color-critical work, ask what type of physical proof or production sample is appropriate.
Print-ready file checklist
- Correct finished size and page count
- Required bleed and safe margins
- Sufficient image resolution at final size
- Appropriate color mode and embedded profiles
- Fonts embedded or safely handled
- Links, transparency and overprint checked
- High-quality PDF exported to the requested standard
- Names, prices, dates, contact details and QR codes proofread
- Clear production instructions included
Not sure whether your file is truly print-ready? Send CPM your artwork and project details. We can review the setup before production and recommend the safest path for your project in the Virgin Islands.